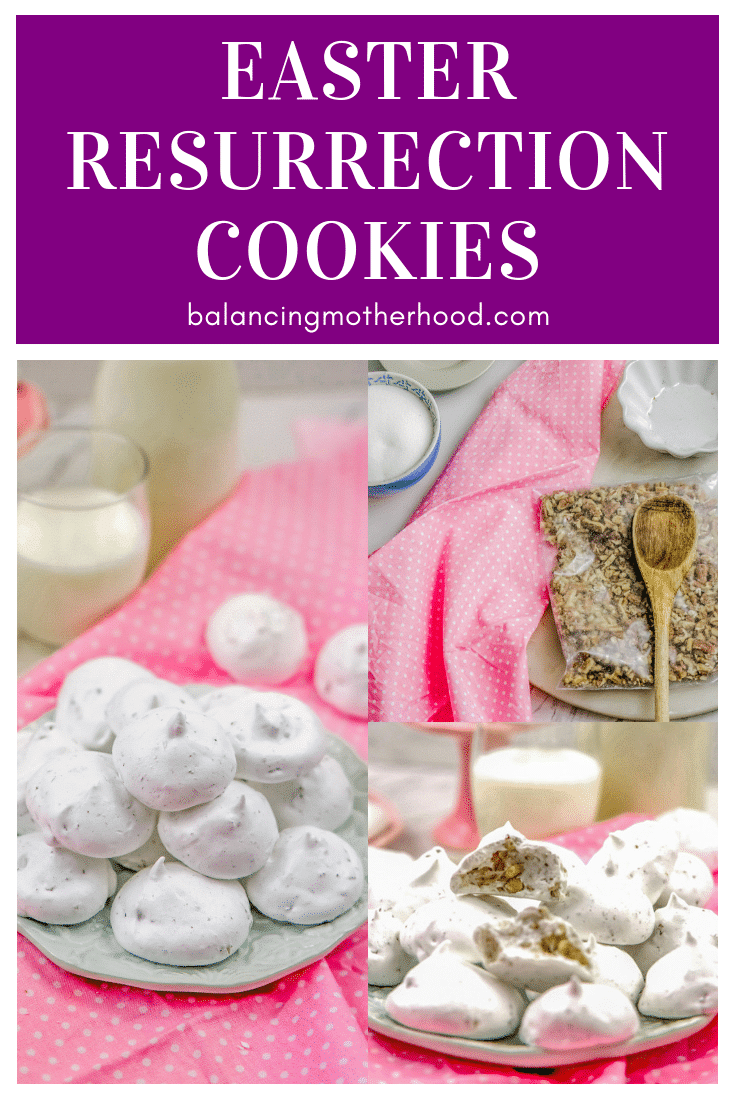
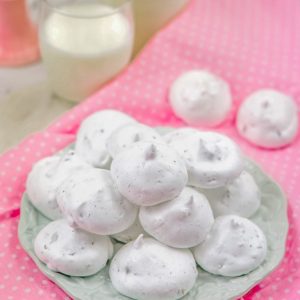
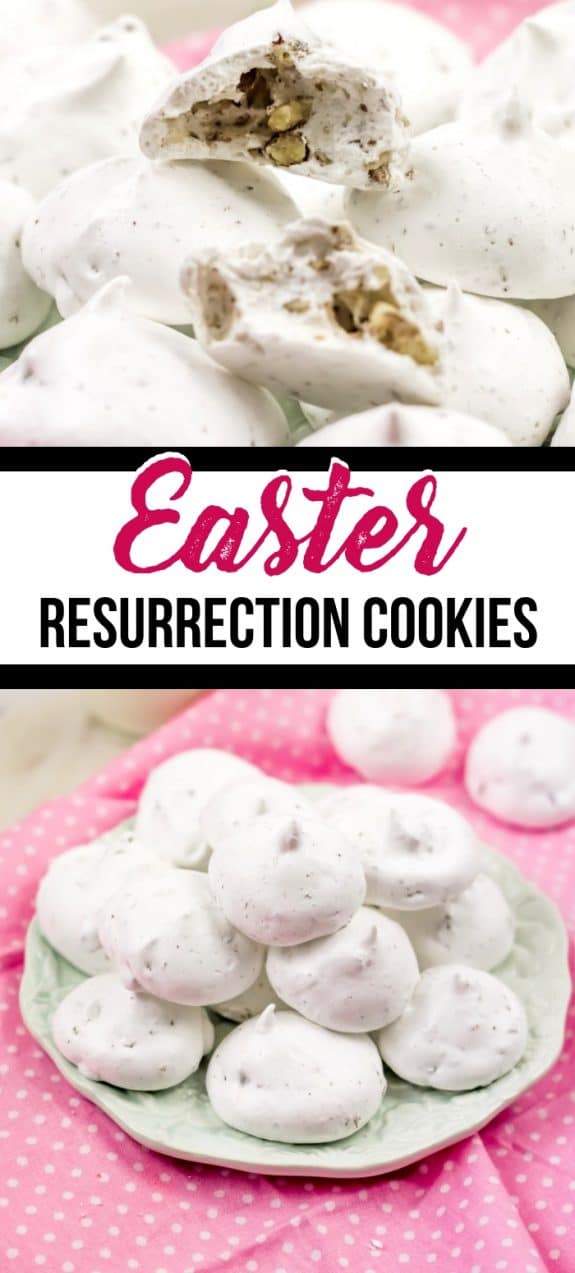
 Every year we make Easter resurrection cookies the night before Easter. These resurrection cookies are a take on a meringue cookie recipe that require no baking. That’s right no-bake resurrection cookies!
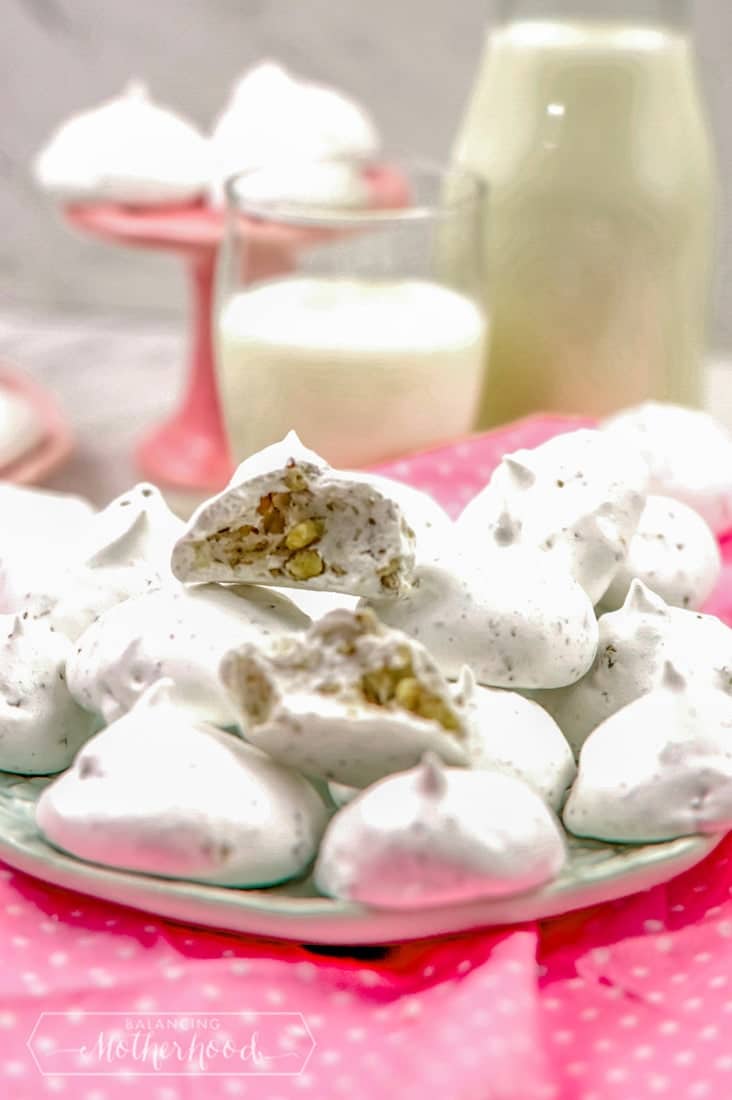
Table of Contents
Resurrection Cookies
These meringue cookies teach my kids about the true meaning of Easter. A sorority sister of mine wrote about these resurrection cookies in a cookbook she made to honor her late son, whom she said always remembered these cookies fondly. Her story made me want to have this experience with my own children.

After trying it the first year, we’ve been making resurrection cookies every year since. To be honest, I expected this to be a lesson, not a cookie that I loved to eat. Turns out it was both. These cookies are excellent. You can’t eat just one.
Ideally, this recipe is best done the night before Easter, but some years we did it the night before Palm Sunday because we were out of town on Easter Sunday. Either way, it’s a great lesson and one the children love participating in. We let the kids eat the resurrection cookies in the morning to help keep the excitement alive.
Resurrection Cookies Ingredients
You only need a few food ingredients to make these Easter cookies.
- whole pecans
- white vinegar
- egg whites
- salt
- sugar
And, you’ll need some things from around the house to “tell the story” as you make the cookies:
- Bible
- zip-top bag
- spoon
- tape
How do you make resurrection cookies?
Follow the instructions below to learn how to make these cookies. All in all, it’ll be about 30-45 minutes to get the cookies in the oven and shut the door.
With each step, you can chose to read a corresponding Bible verse. Even if you don’t read the verse, you can talk your children through the story as you go along.
And, since there’s no baking, you just go to bed and wait until morning.

Place the pecans in a zip-top bag and seal it. Take the back of a wooden spoon and crush the pecans.
 One by one, you’ll add the ingredients. Read the instructions on how to add them and what verses to read so you can really tell the story. This is such a memorable experience for the kids.
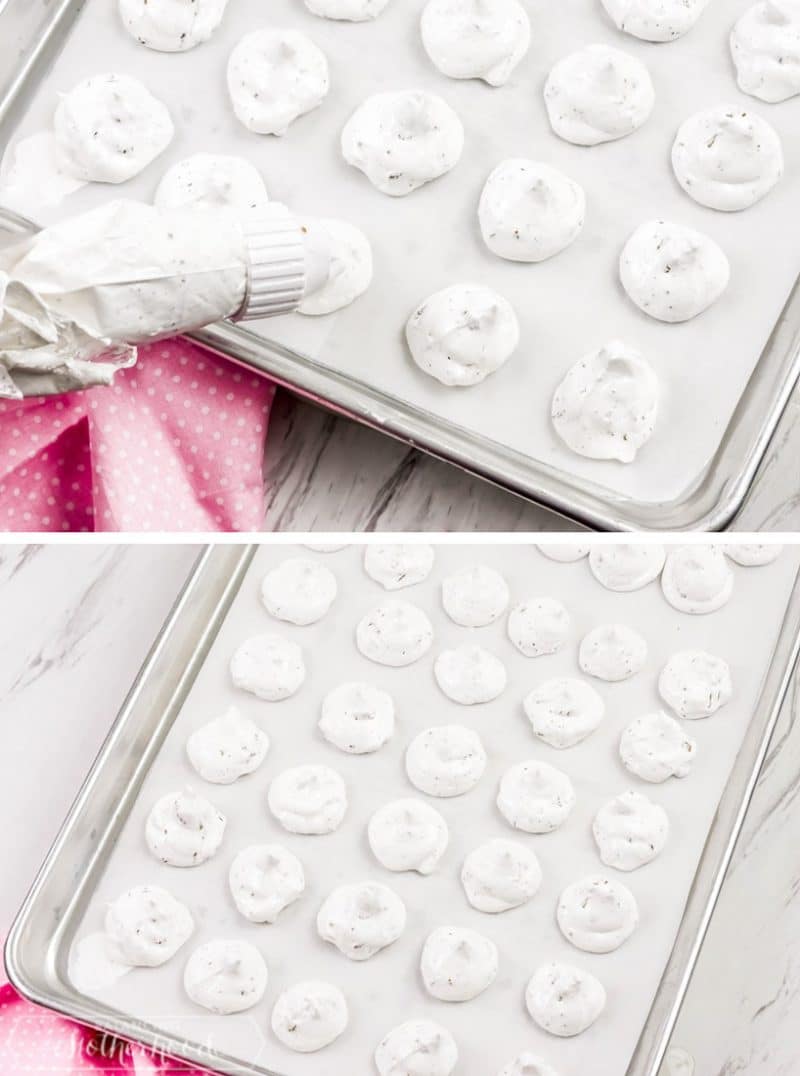
After the cookies are whipped together, you can put them in a piping bag and pipe small round circles on a parchment-lined baking sheet. You can also use a large zip-top bag with corner cut off as a make-shift piping bag. Works just as well!
And, another alternative is to just use two spoons and scoop “mounds” onto the baking sheet. We prefer the pastry bag because they come out nice and even, but it all depends on how busy I am the night when I’m making these!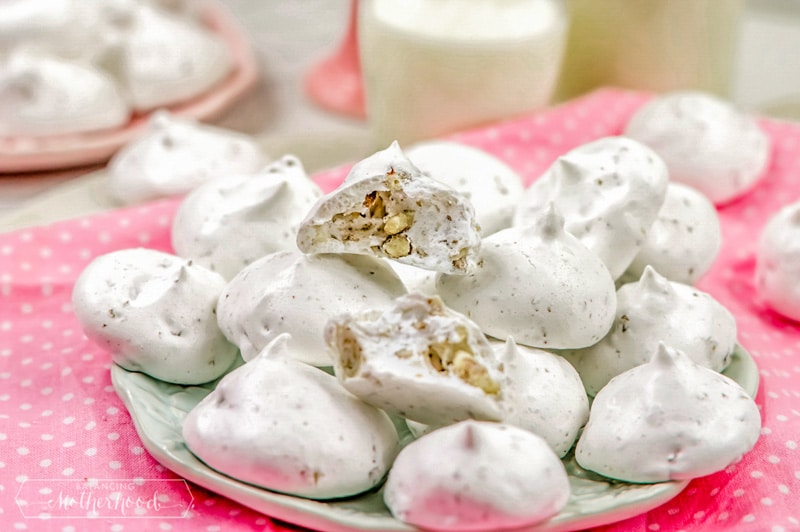
Once the cookies come out of the oven (these aren’t baked, they are left overnight in a warm oven), they are hard on the outside, and “hollow” on the inside. You can see the pecan pieces on the inside of the cookie.

Perfect for breakfast on Easter morning!

Easter Resurrection Meringue Cookies
Ingredients
- 1 cup whole pecans
- 1 tsp. vinegar
- 3 egg whites
- Pinch of salt
- 1 cup sugar
- Other items needed:
- Bible
- zip top bag
- wooden spoon
- tape
Instructions
- Preheat oven to 300 degrees. IMPORTANT! Do this before you do the next steps.
- Place pecans in zip top bag and let children beat them with the wooden spoon to break them into small pieces. Explain that after Jesus was arrested, the Roman soldiers beat him. Read John 19:1-3
- Let each child smell the vinegar. Put 1 teaspoon vinegar into mixing bowl. Explain that when Jesus was thirsty on the cross he was given vinegar to drink. Read John 19:28-30
- Add egg whites to vinegar. Explain that eggs represent life. Explain that Jesus gave His life to give us life. Read John 10:10-11
- Sprinkle a little salt into each child's hand. Let them taste it and brush the rest into the bowl. Explain that this represents the salty tears shed by Jesus' followers, and the bitterness of our own sin. Read Luke 23:27
- So far the ingredients are not very appetizing. Add 1 cup sugar. Explain that the sweetest part of the story is that Jesus died because He loves us. He wants us to know and belong to Him. Read Psalm. 34:8 and John 3:16
- Beat with a mixer on high speed for 12 to 15 minutes until stiff peaks are formed. Explain that the color white represents the purity in God's eyes of those whose sins have been cleansed by Jesus. Read Isaiah. 1:18 and John 3:1-3
- Fold in broken nuts. Drop by teaspoons onto wax paper covered cookie sheet. (Or, put ingredients in a gallon zip top bag and cut off a tiny piece of the corner to use as a piping bag. Pipe cookies onto cookie sheet.) Explain that each mound represents the rocky tomb where Jesus' body was laid. Read Matthew 27:57-60
- Put the cookie sheet in the oven, close the door and turn the oven OFF. Give each child a piece of tape and seal the oven door. Explain that Jesus' tomb was sealed. Read Matthew 27:65-66
- GO TO BED! Explain that they may feel sad to leave the cookies in the oven overnight. Jesus' followers were in despair when the tomb was sealed. Read John 16:20 and 22
- On Easter morning, open the oven and give everyone a cookie. Notice the cracked surface and take a bite. The cookies are hollow! On the first Easter Jesus' followers were amazed to find the tomb open and empty. Read John 11:25-26
Did You Make This Recipe?
Don't forget to share it with me on @thebalancingmom and follow on Tiktok @balancingmotherhood and Pinterest @thebalancingmom for more!
Pin for later
Learn how to make this Easter bunny cake from two simple, round cakes.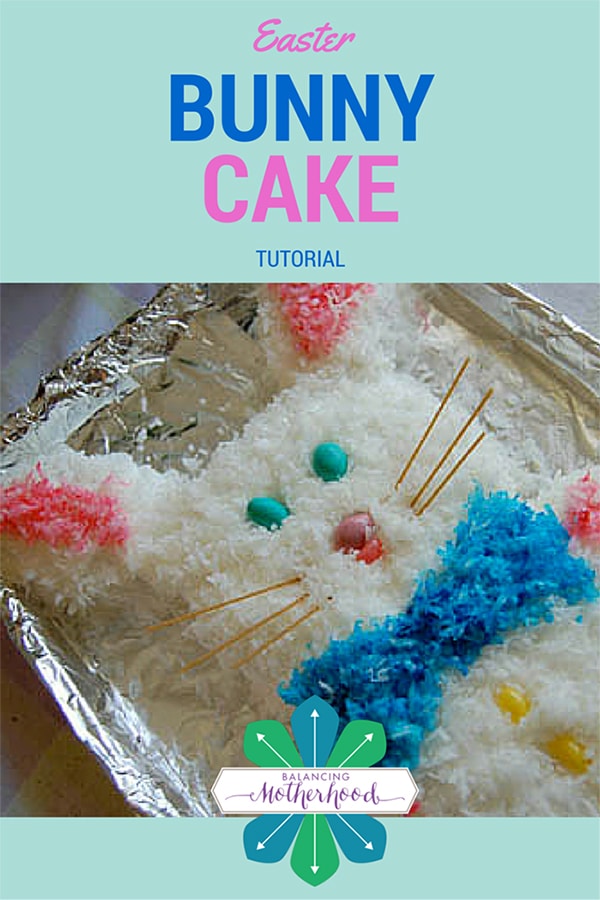


Comments & Reviews
Mary says
How long can resertection cookies keep???
Alicia at BalancingMotherhood.com says
Mary: They actually do really well in a storage container. I think they keep well over a week.
Jaclyn Anne says
Thank you for sharing these easter meringue cookies — I can’t wait to make them for the family this Easter!
Maike says
They look delicious. I can’t wait to make them. They look perfect for our post-service coffee hour at church. Thank you for sharing!
Brenda says
Is it necessary to put in a preheated oven? I’m thinking of doing this with an evening group at church and sending them home with the kids for the overnight process.
Angela says
These turned out perfectly! The kids loved making them with me
Liz says
Brilliant! I love how these just sit in the oven all night. They turned out perfectly!!!
Kimberly Smith says
I’m going to make these for sure!! I have never heard of these or this story my children are grown, I wish I had I had it for them when they were small. The story is so touching and true. Thank you so much!!!