
Food
Recipes
We offer easy and simple recipes any home cook can make. Our goal is to help your family get dinner on the table fast and have fun too!
H2: Recipes By Category [keep the maroon buttons] H2: Latest Recipes Include 8-12 latest posts:
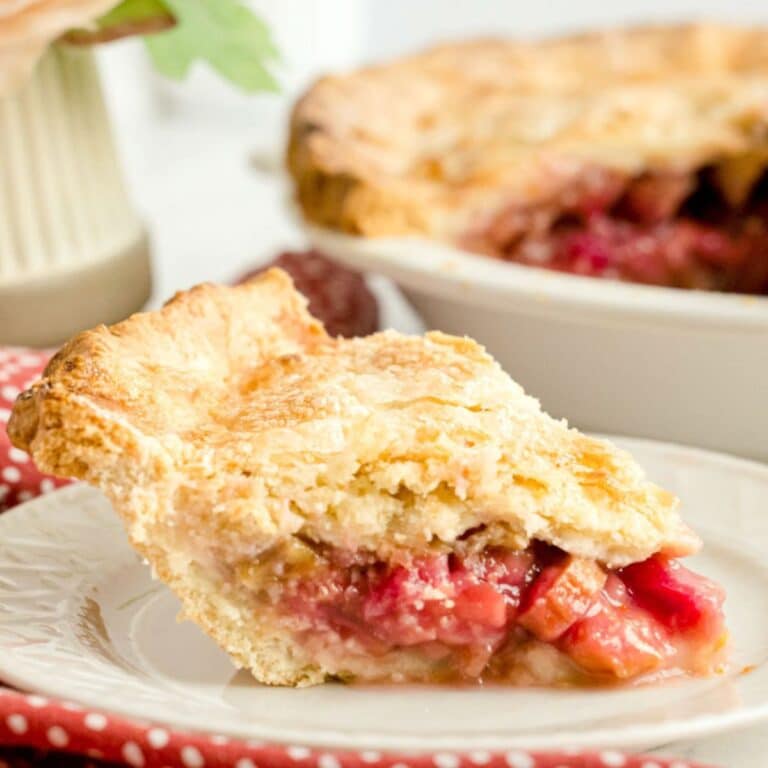
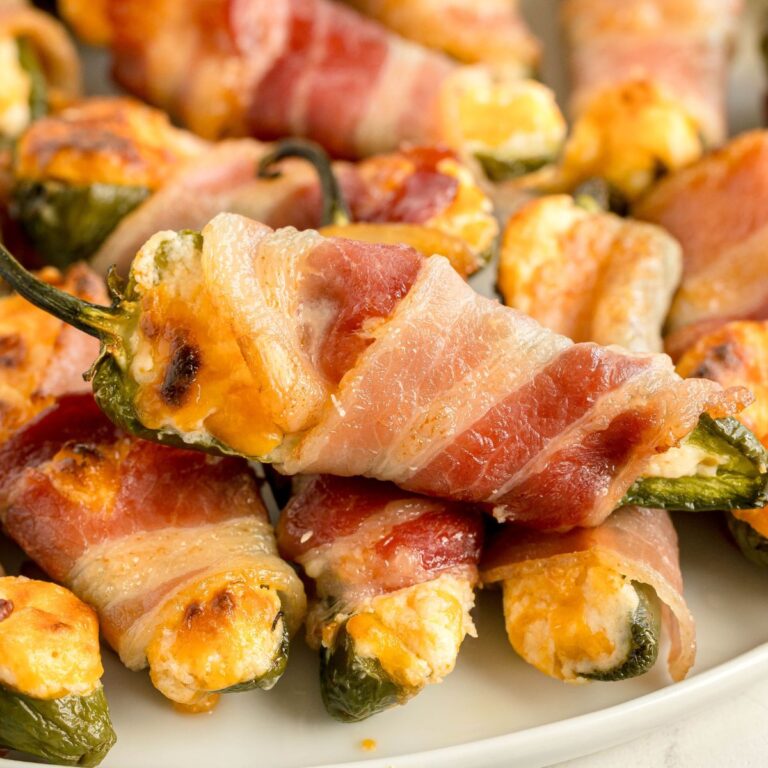
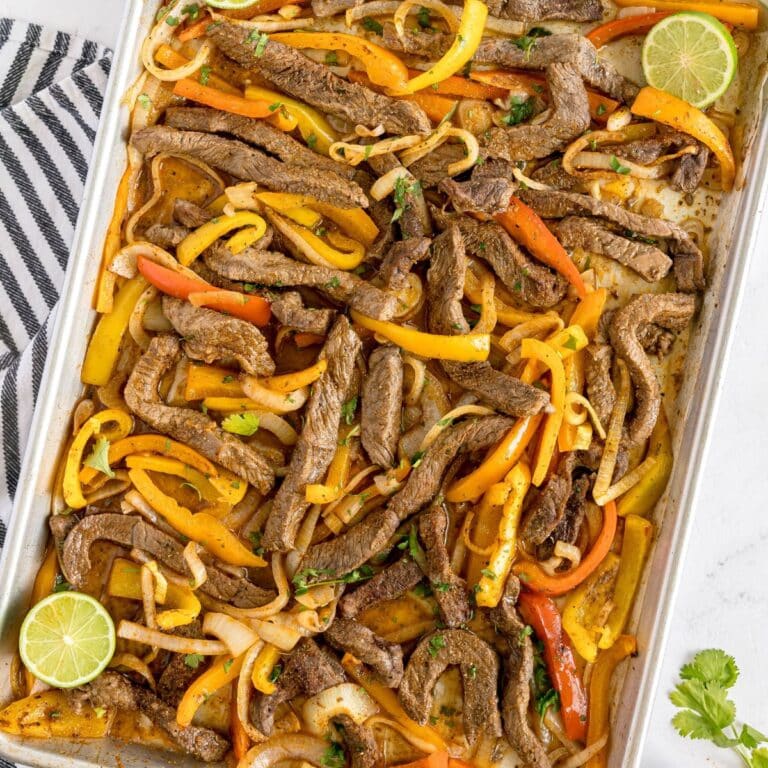
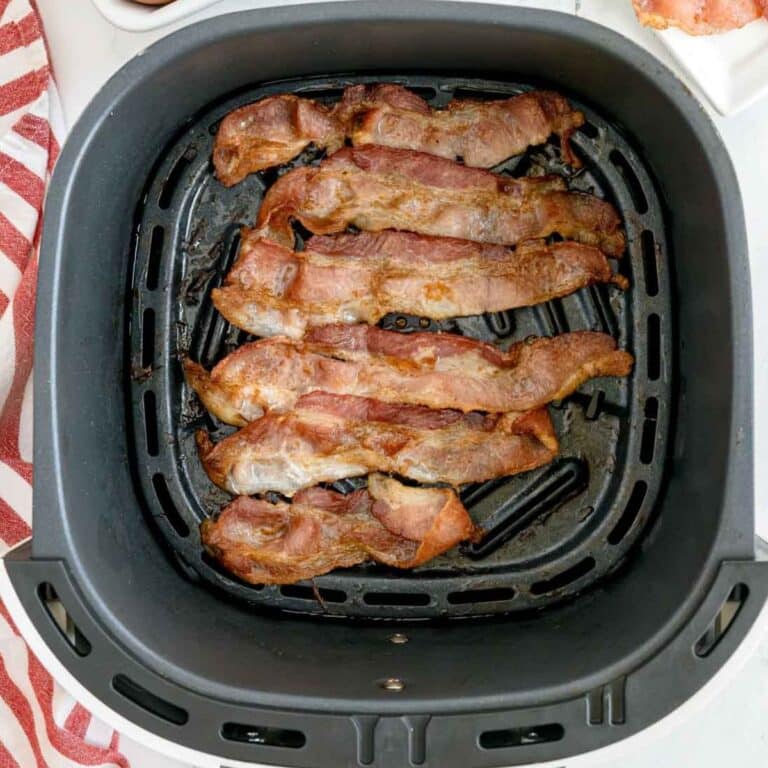
Post Name
Short excerpt
[Link – See Recipe]

As Seen On


Explore Recipes
©2026, Balancing Motherhood.
Back To Top
Design by 