Skip to content
Home
About
New Recipes
Trending: Chicken Pot Pie Casserole
Start Here
Recipes
Expand
Drinks
Appetizers
Breakfast
Main Courses
Crockpot
Soups
Sides
Desserts
Cakes
Holidays
Expand
Valentine’s Day
St. Patrick’s Day
Easter
Fourth of July
Game Day
Mother’s Day
Back to School
Halloween
Thanksgiving
Christmas
Birthday Parties
Ingredient
Expand
Beef
Chicken
Ground Beef
Pasta
Pork
Shrimp
About
Expand
About Alicia
Contact
Work With Me
Disclosure
search
Search
Search for:
Search
Menu
search
Search
Start Here
Recipes
Drinks
Appetizers
Breakfast
Main Courses
Crockpot
Soups
Sides
Desserts
Cakes
Holidays
Valentine’s Day
St. Patrick’s Day
Easter
Fourth of July
Game Day
Mother’s Day
Back to School
Halloween
Thanksgiving
Christmas
Birthday Parties
Ingredient
Beef
Chicken
Ground Beef
Pasta
Pork
Shrimp
About
About Alicia
Contact
Work With Me
Disclosure
Search for:
Search
Search for:
Search
Home
/
Holidays
Holidays
Narrow Topics
Christmas
Cinco De Mayo
Easter
Fourth of July
Game Day
Halloween
Holiday Featured
Mother's Day
Parties
Pumpkin
St. Patrick's Day
Thanksgiving
Valentine's Day
Appetizers
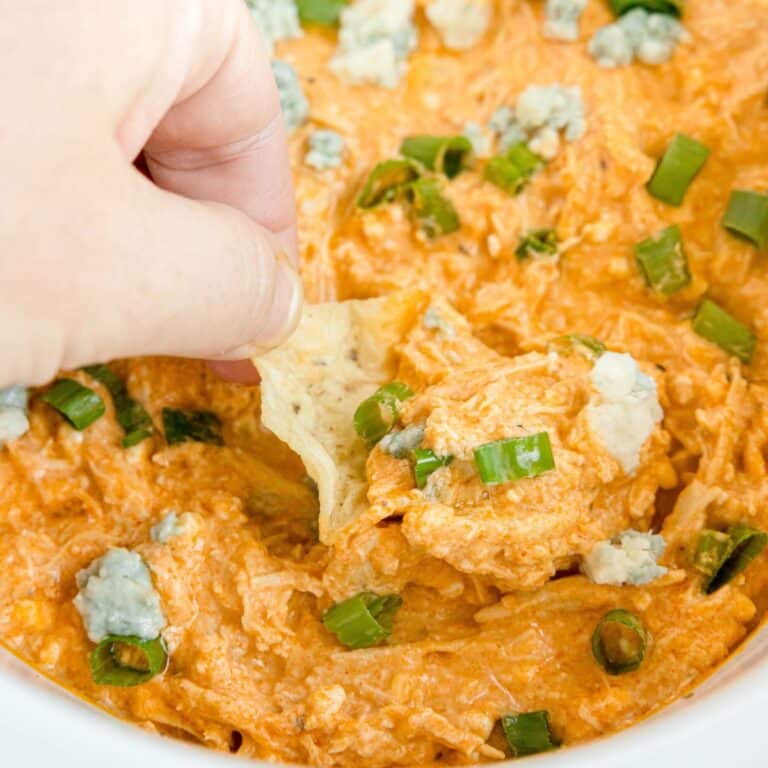
High Protein Buffalo Chicken Dip
Desserts
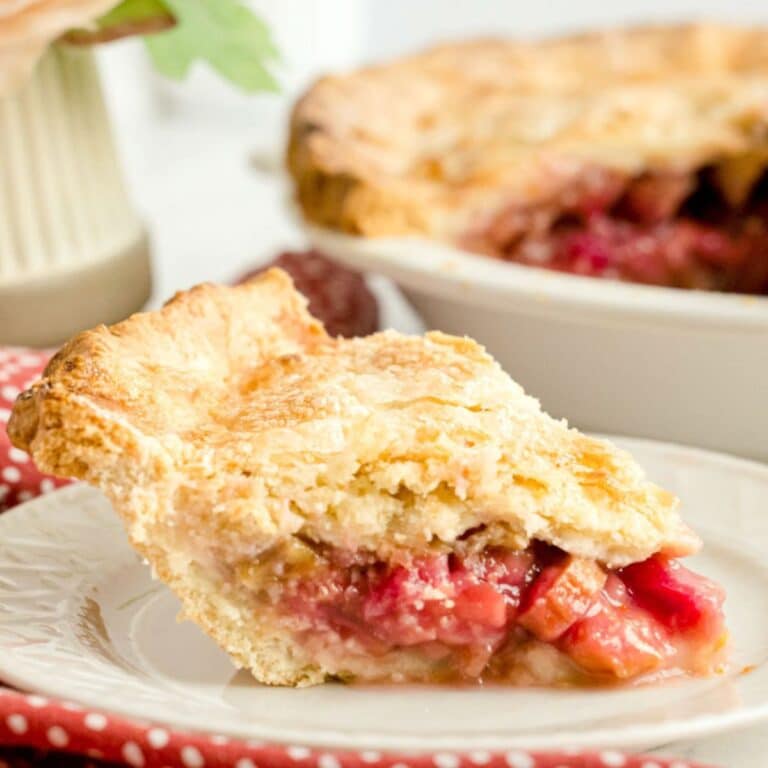
Rhubarb Pie Recipe
Appetizers
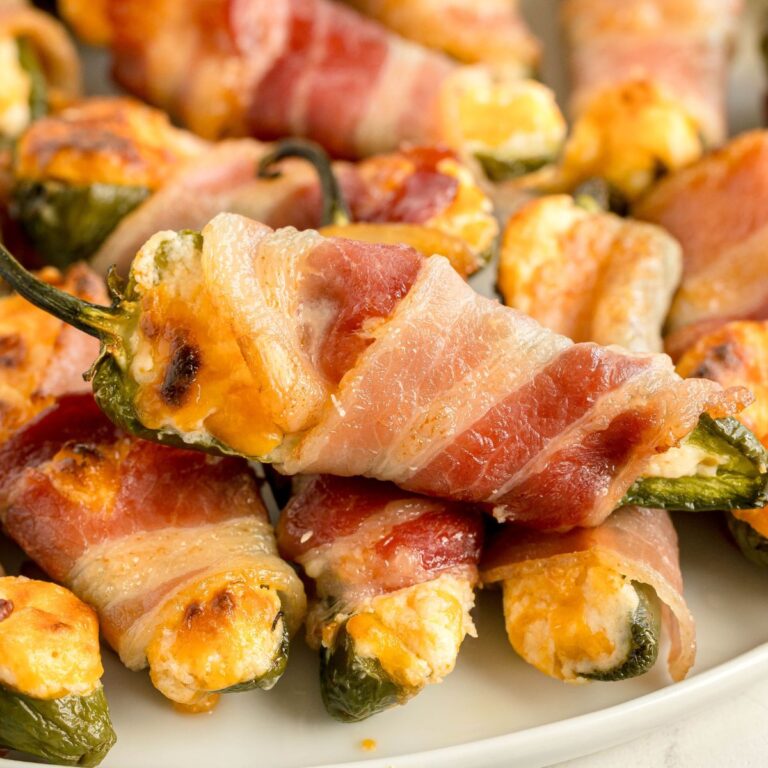
Jalapeño Poppers Wrapped in Bacon
Pies
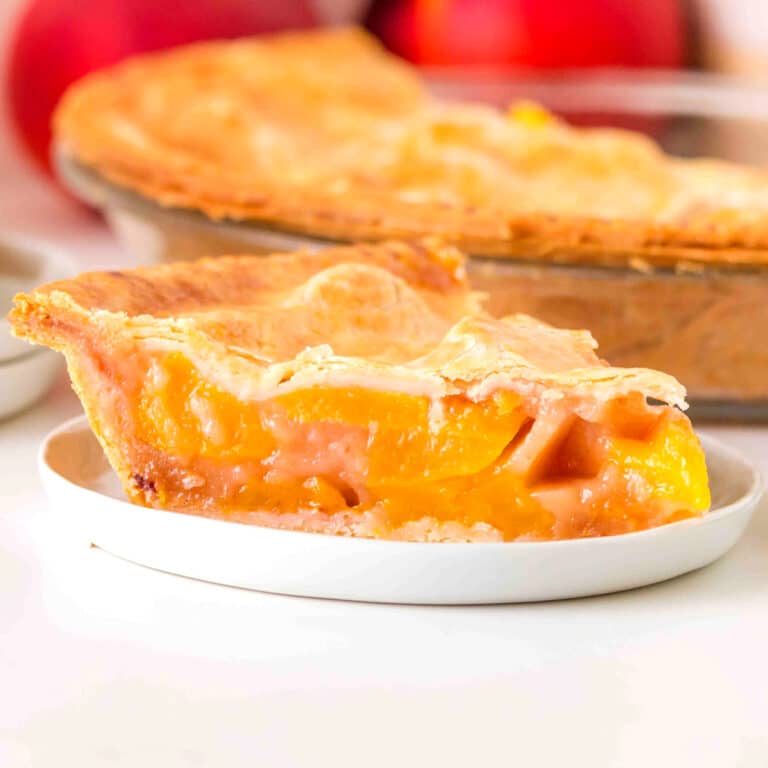
Perfect Peach Pie Recipe
Desserts
Copycat Dairy Queen Ice Cream Cake
Game Day
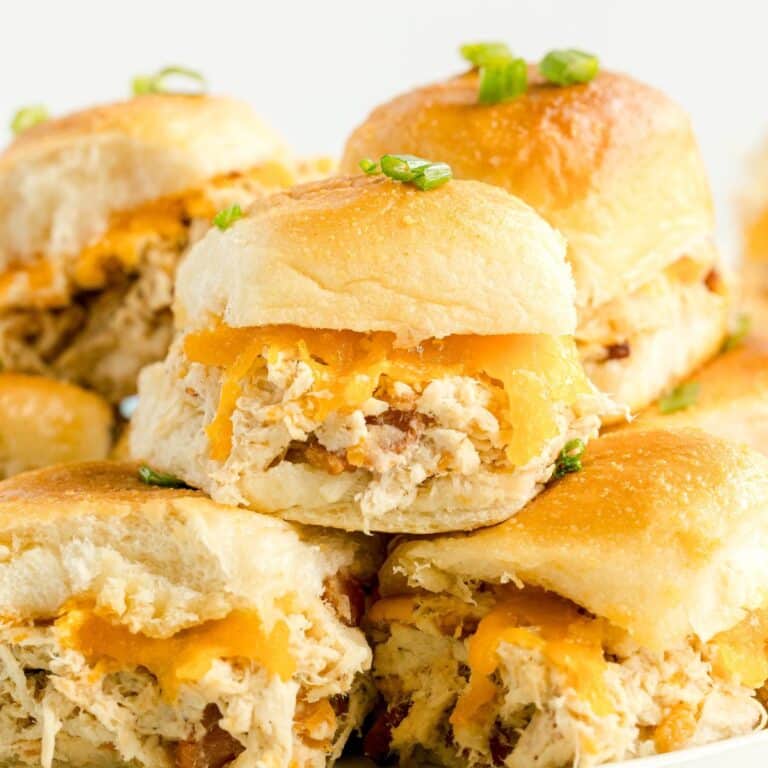
Easy Buffalo Chicken Sliders on Hawaiian Rolls
Appetizers
Easy Crack Chicken Pinwheels
Appetizers
Buffalo Chicken Pinwheels
Pies
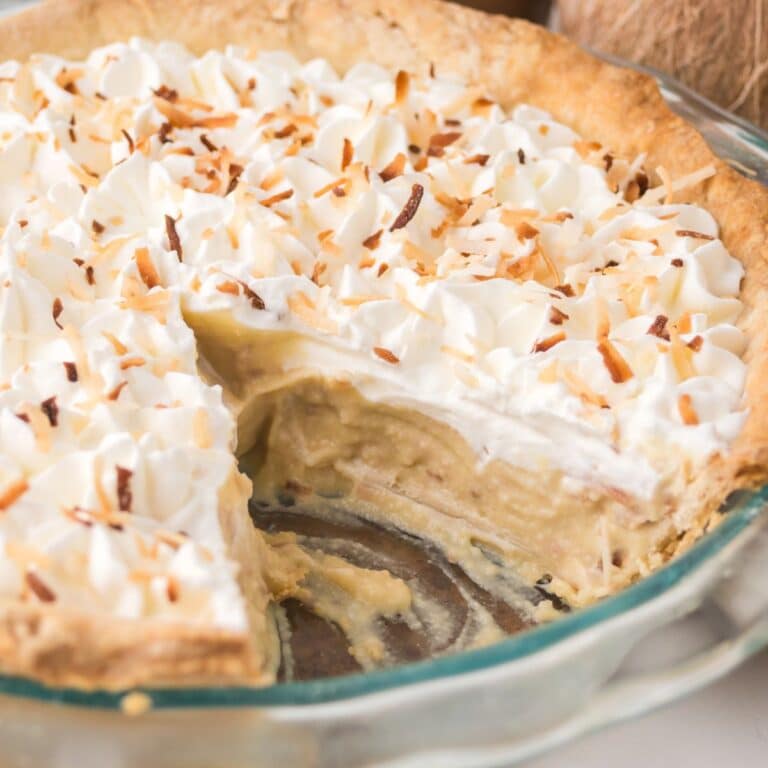
Coconut Pie
Crockpot
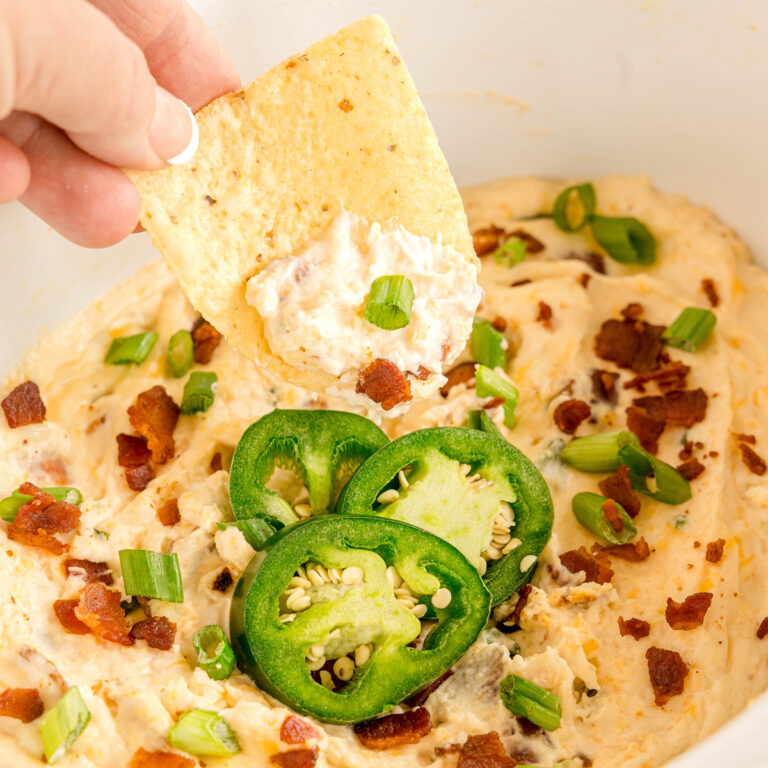
Crockpot Jalapeño Popper Dip
Appetizers
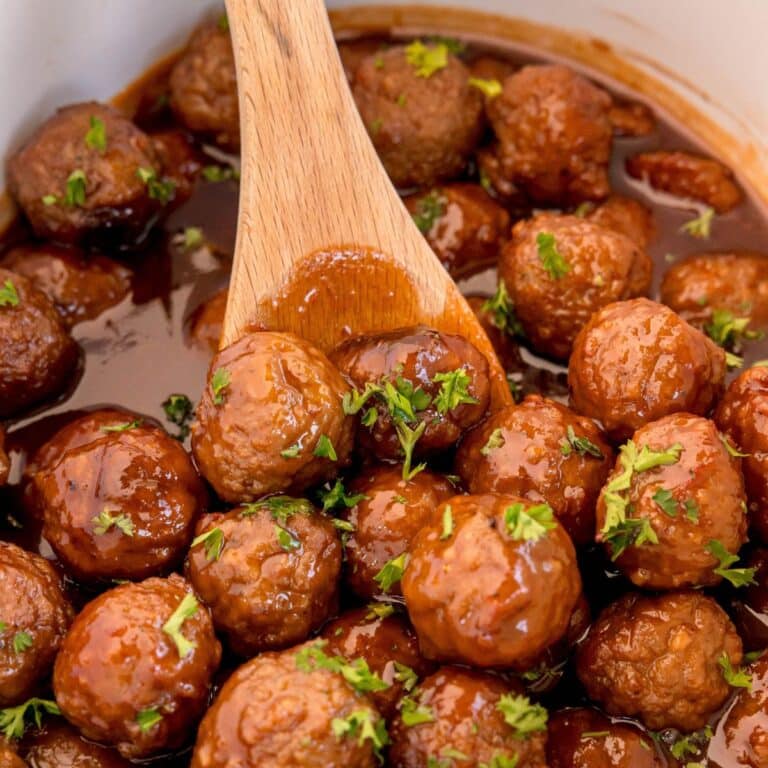
Crockpot Grape Jelly Meatballs (3-Ingredients)
Appetizers
Whipped Feta Tomato Crostini
Page navigation
1
2
3
…
46
Next Page
Next
As Seen On
Explore Recipes
Appetizers
Breakfast
Desserts
Main Courses
30-Minute Meals
Air Fryer
Casserole
Crockpot
Instant Pot
Chicken
Pasta
Back To Top
×